Analyse a folder
A one-off run over a single folder of images or videos. Three steps, then you get files out.
Video tutorial
Prefer to watch? This video walks through the whole run, from picking a folder to saving the results.
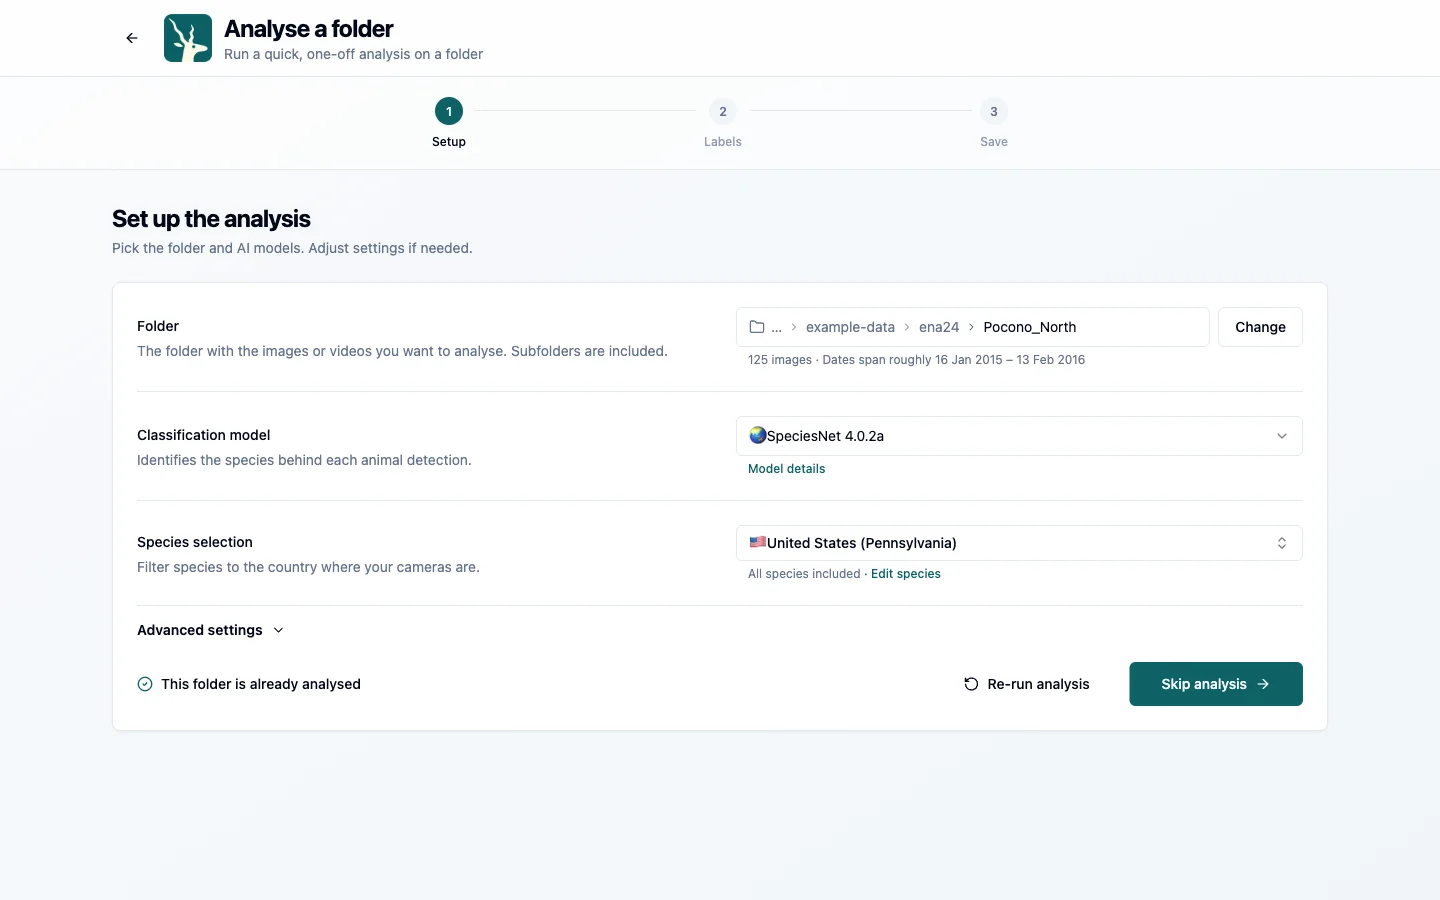
1. Setup
Pick the folder and the models: a detector to find animals, people and vehicles, and a classifier to name the species. Start the run.
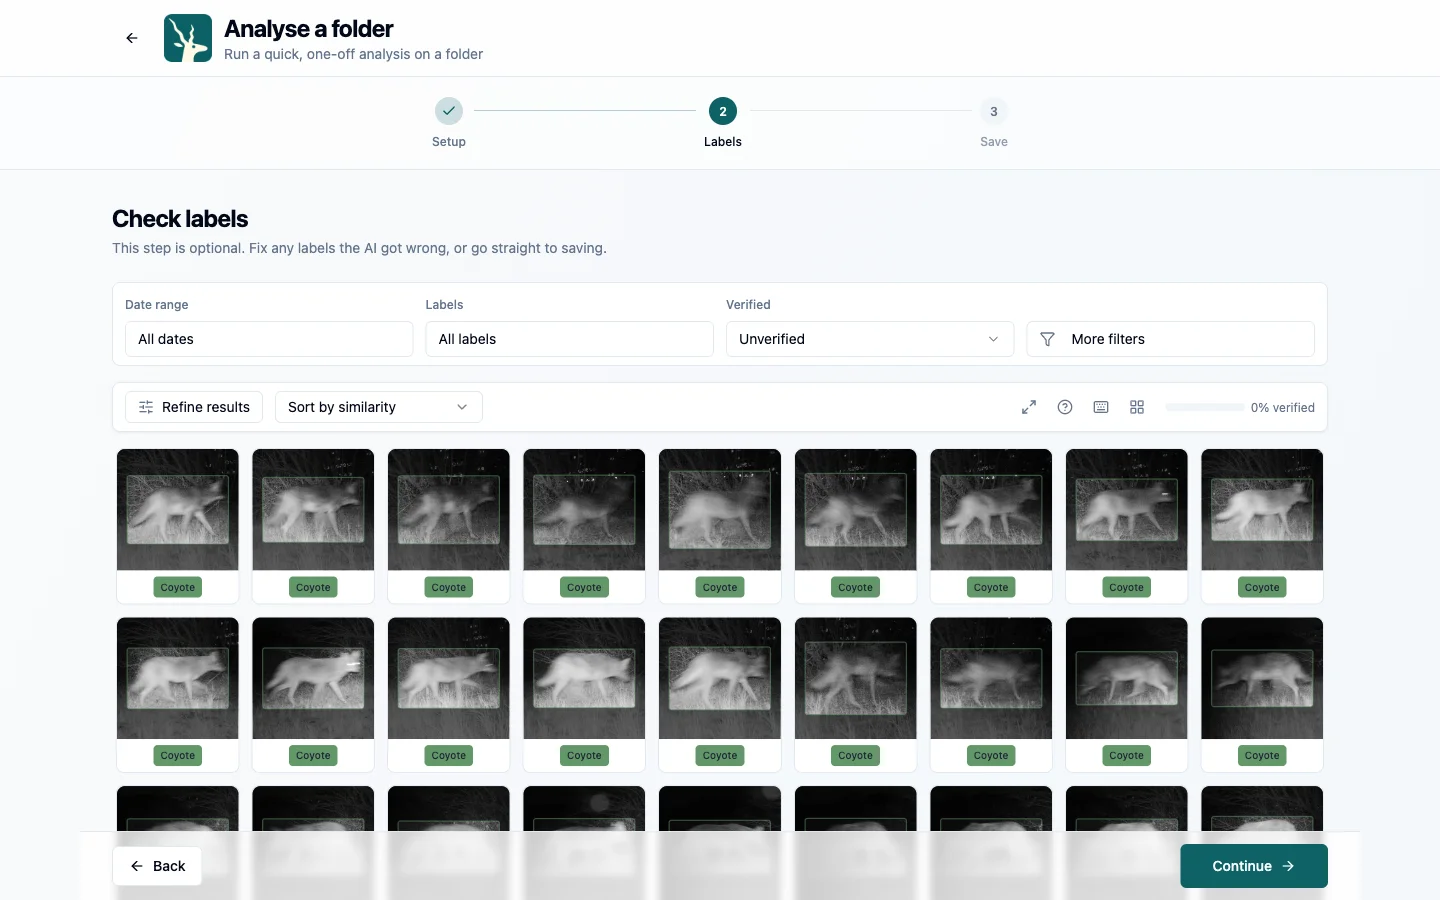
2. Labels
When the AI is done, you can check the labels. Relabel, filter by species, or refine the results by changing the thresholds and intervals. Skip this step if you just want the raw output.
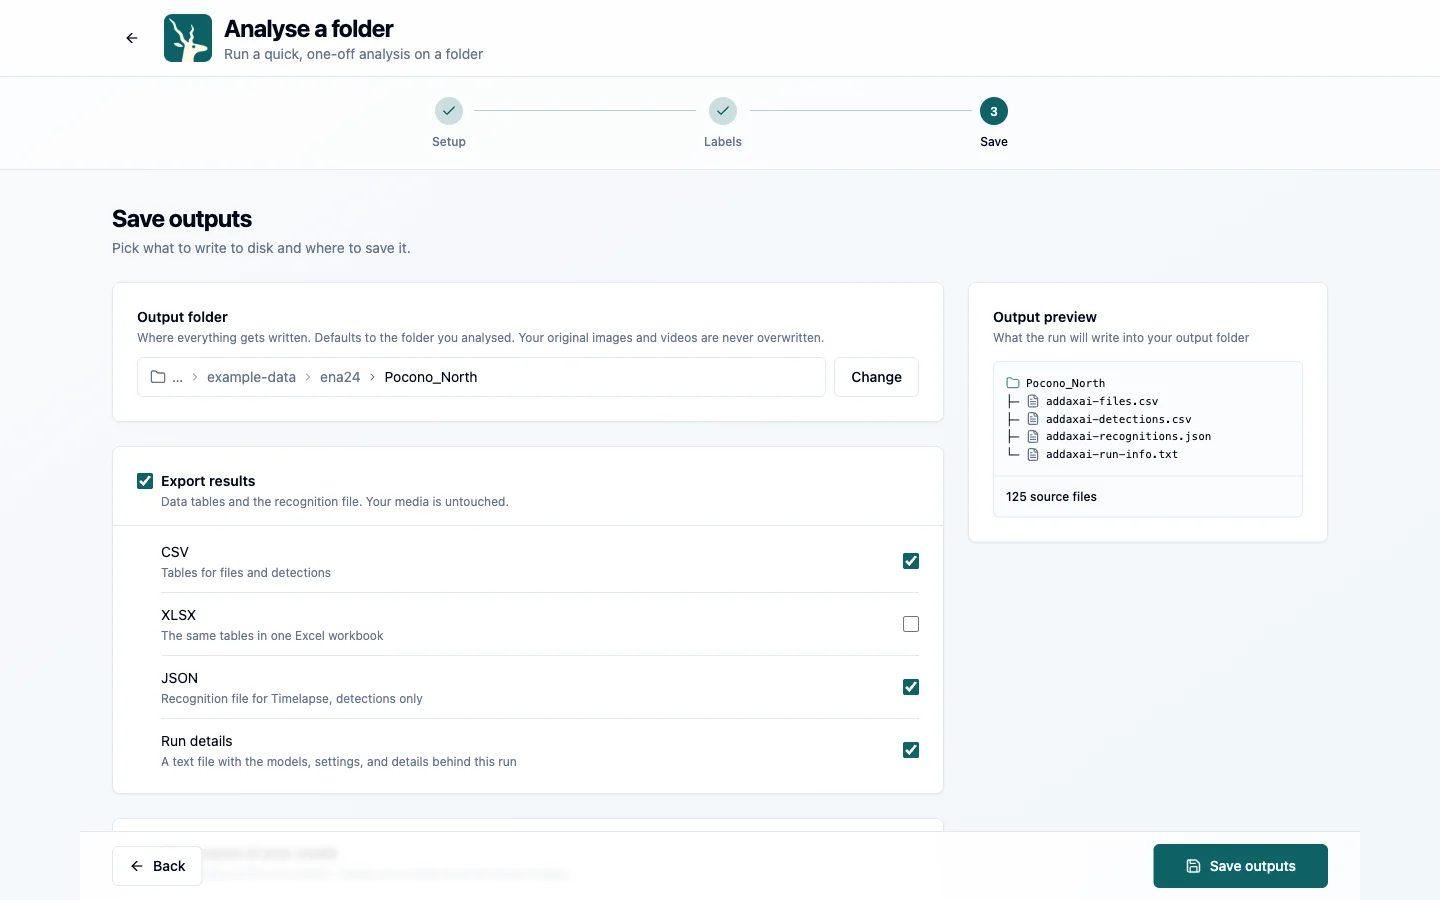
3. Save
Choose what to write out: detection tables, a recognition file for Timelapse, species folders, or marked-up images. By default files land in the folder you analysed, but you can change where they go.
Species folders copy your images and videos into one folder per species, or nested by taxonomy. Each file goes in one folder only, the species of its strongest detection. Your originals are never moved. Boxes and blur are drawn on images; a video cannot be drawn on, so a video gets a still image with the boxes saved next to it, and with blur on a video is saved as a blurred still only. This is only available in a folder run, not in a project.
Timelapse
Using Timelapse to review your photos? See use results in Timelapse.